Adding DKIM Records
DKIM records are needed only for SMTP sending
DKIM cryptographically signs the emails you send, so receiving servers can verify they really came from you — keeping your messages trusted and out of the spam folder. To send over ImprovMX SMTP, you'll first add two DKIM records to your domain's DNS.
1. Create an SMTP Credential
If you haven't already, create an SMTP credential set by following this guide. DKIM record instructions only appear once a credential has been added.
2. View Required DKIM Records
Open your Domain Settings → DNS Settings tab.

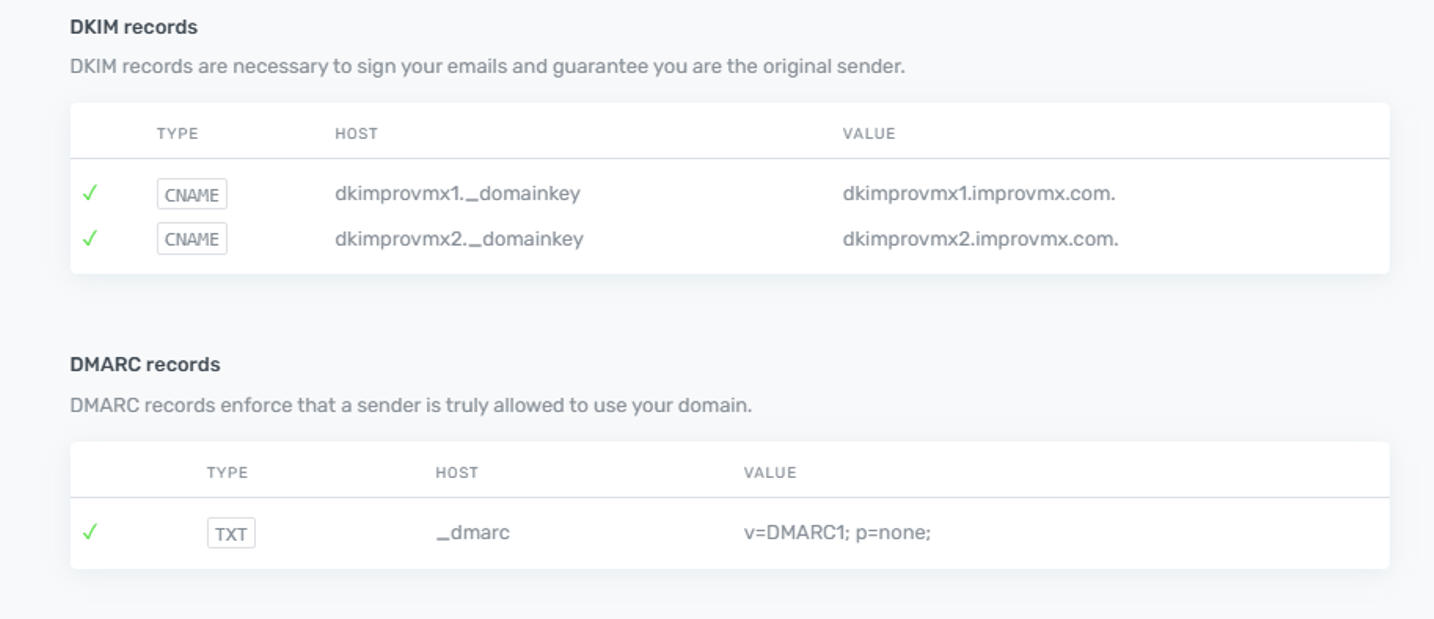
Scroll to the bottom to find the two DKIM records you need to add.
3. Add the Records to Your DNS
Add both records at your DNS provider. Some examples:
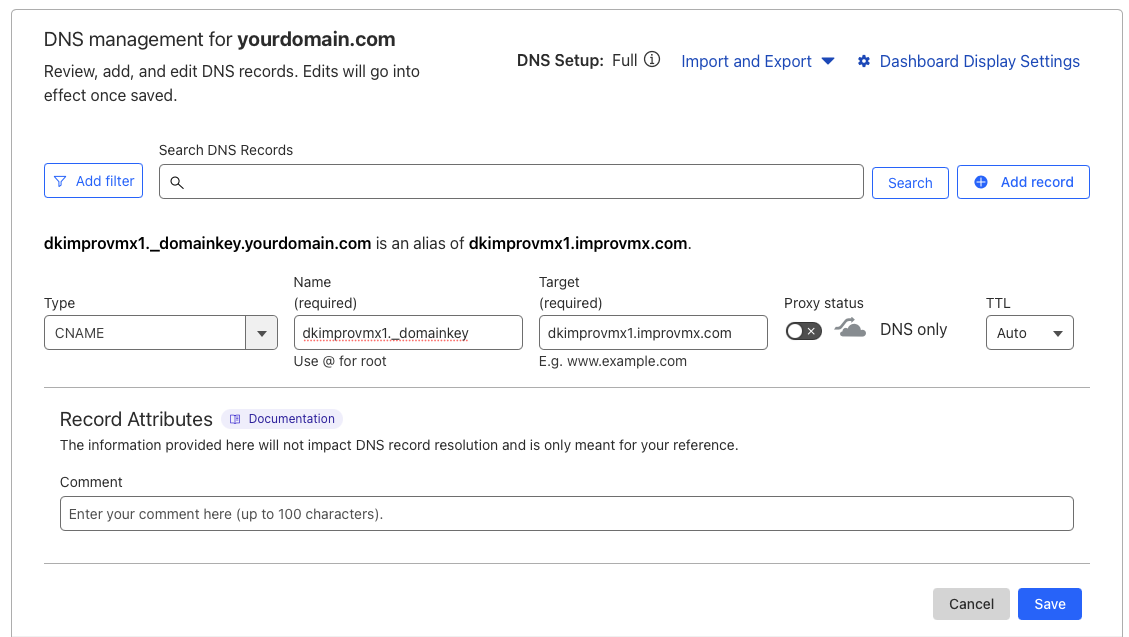
Example – Cloudflare
Go to your Cloudflare dashboard → Locate your domain → DNS tab → click Add Record:
• Type: CNAME
• Name: dkimprovmx1._domainkey
• Target: dkimprovmx1.improvmx.com
Do the same for the 2nd DKIM record:
Type: CNAME
• Name: dkimprovmx2._domainkey
• Target: dkimprovmx2.improvmx.com
Example – GoDaddy
Navigate to your domain → DNS Management → Add:
• Use the DKIM values from ImprovMX
• Leave TTL at default
Example – Namecheap
Go to Domain List → Manage → Advanced DNS → Add New Record:
• Choose CNAME Record
• Enter the DKIM record details
4. Wait for DNS Propagation
DNS changes can take up to 48 hours to propagate, but often update within a few minutes. Check the status in your ImprovMX dashboard or with ImprovMX Inspector.
Next: Add a DMARC Record
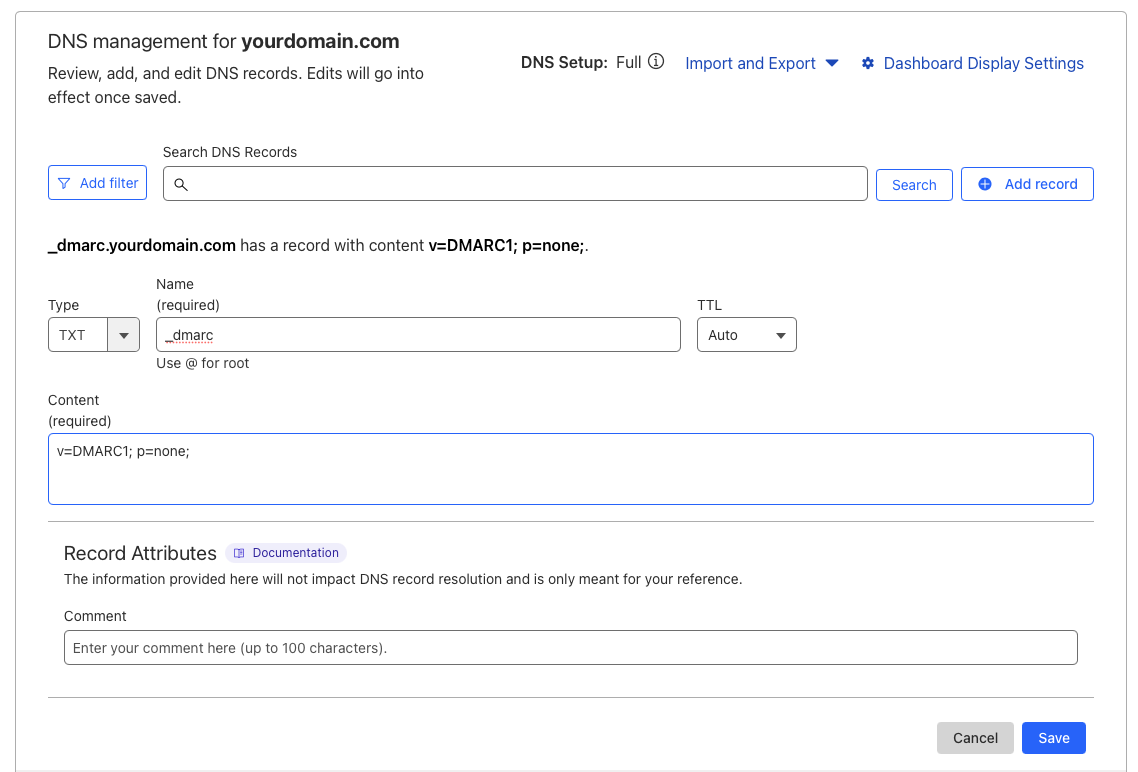
DKIM gets your sending working. For extra protection against spoofing, add a DMARC record too — see Adding DMARC Records.
Need help?
Not sure where to paste the records? Reach out to your DNS provider's support team, or contact us — we're happy to help.